10 Useful Tips to Prolong Your LED Strip Lifespan
Maximize your LED strips' brightness and durability with expert advice and 10 essential tips to prolong the lifespan of LED strip lights, from installation best practices to regular maintenance.
LED strip lights are celebrated for their impressive lifespan. But achieving that longevity requires more than just high-quality strips—it’s about maintaining the entire system. From power supplies to installation techniques, every component plays a crucial role in ensuring your LED setup stays bright and efficient for years to come. This blog will guide you through essential care tips to help you get the most out of your LED lights.
In this article, we'll discover that LED strip care can be uncomplicated and even broken down into effortless tasks. These ten recommendations will cover crucial tips to prolong your LED strip lifespan before and after installation, guaranteeing its longevity and optimal output.
First Things First: What Is the Lifespan of an LED Strip?
To understand how to maximize the lifespan of your LED strips, it's essential first to define what it means. In the LED industry, the Lifespan, also known as "end of life," is typically when the lights have dimmed to approximately 70% of their original brightness over time. This gradual dimming is a natural process that occurs in all LEDs and cannot be prevented.
However, making the most of your lights is in your hands and depends on the use and care you give them before, during, and after installation. By understanding your strip lighting system and ensuring each component is well maintained, you can effectively get the most out of the lifespan of your lights and prevent them from deteriorating before time.
Pre-Installation: Setting the Stage
The first step is finding quality LED strips. Nowadays, there are a lot of brands on the market, so make sure you purchase first-class strip lights from a trustworthy company. Opting for high quality and solid engineering from the beginning will always guarantee and lead to a maximized lifespan.
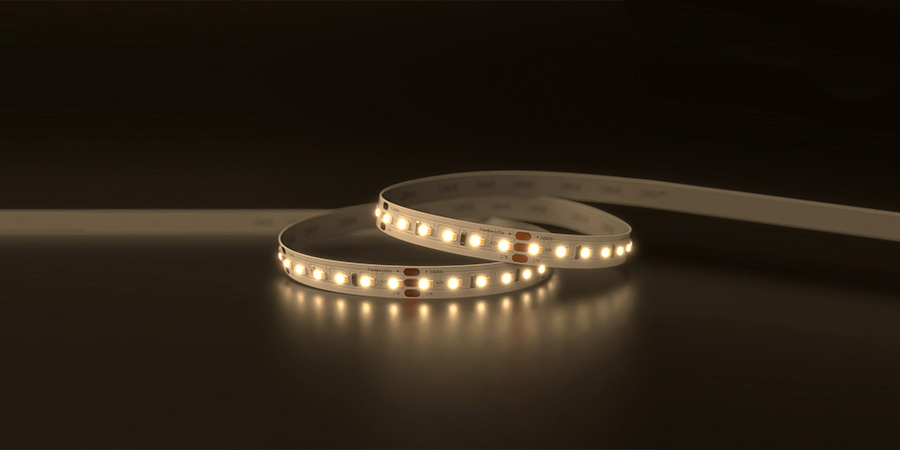
Consider companies that share details about the production of their lights and offer strong product warranties or return policies. This means that you can trust the quality of their products.
Also, remember that it’s not just about buying the lights; these systems may require other components, so get them all before starting the installation process. If you’re not familiar with how lights work, it’s best to buy them following the personalized advice from lighting experts
Once you have received and unboxed your LED strips, it's important to lay the groundwork for their ideal functionality. Here's how you can guarantee a seamless and enduring experience:
1. Identify and Clean Your Surfaces
Before making your purchase, consider a key factor: the installation location. This will determine whether you need indoor or outdoor LED strip lights.
For outdoor spaces or bathrooms, your ideal option is strips with weather resistance or an Ingress Protection (IP) rating of 65 or higher. This will ensure they are insulated from moisture and foreign particles, safeguarding your investment and prolonging the life of the strips.
In the case of indoor strips, the best way to extend their lifespan is by installing them on metal surfaces that act as a heat sink. LED strips adhere best to different surfaces, which also helps keep the temperature of your strips lower.
Although both outdoor and indoor lights come with adhesive backing, mounting brackets are recommended for installations outside or in wet areas, and indoor installations, if the surface is not metallic, using mounting channels is advisable.
2. Keep Temperature and Ventilation in Mind
LED strips are designed to operate in temperatures ranging from -4ºF to 149ºF. This not only encompasses but significantly surpasses the typical room temperature found in most American households (68°F to 77°F).
Extreme hot or cold temperatures can accelerate the degradation of LEDs, causing them to dim prematurely. To prevent this, install your LED strips in well ventilated areas that do not experience extreme temperature fluctuations.
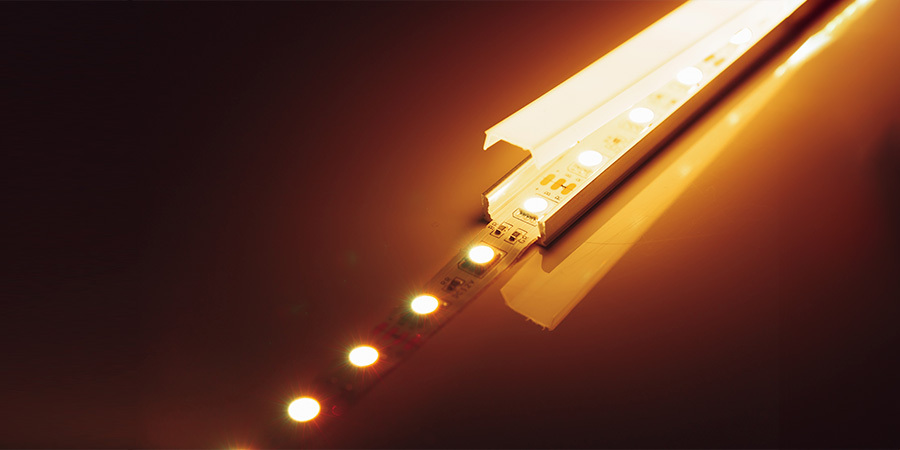
Integrating LED strips into aluminum mounting channels is a smart solution for temperature challenges. Aluminum channels extend LED lights' lifespan, providing heat dissipation while shielding them from dust and debris, ensuring durability. Moreover, they offer a sleek, professional look, enhancing the overall aesthetics of your setup.
3. Avoid Bending Beyond Specifications
LED strips have specifications regarding flexibility. Follow your manufacturer's guidelines and avoid bending the strips beyond their recommended angles. Unless you have a side bending strip light, you should not attempt to bend them horizontally or sideways. Additionally, refrain from folding, twisting, or creasing your light strip.
Improper care and handling of LED strip lights can damage the LED chips or solder joints, resulting in reduced brightness, color irregularities, or even complete failure of the affected sections of the LED strip.
4. Find Compatible Controllers and Dimmers
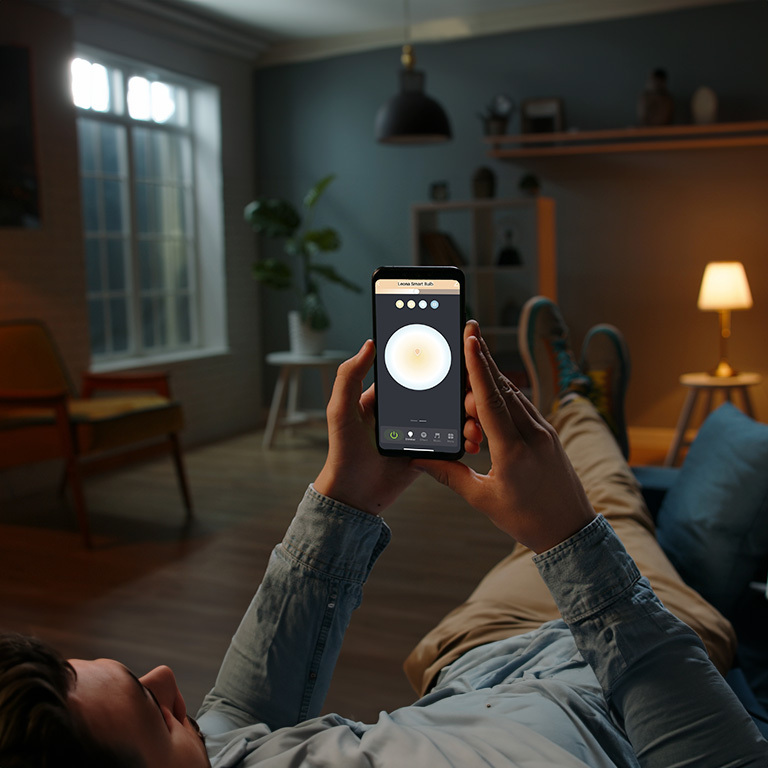
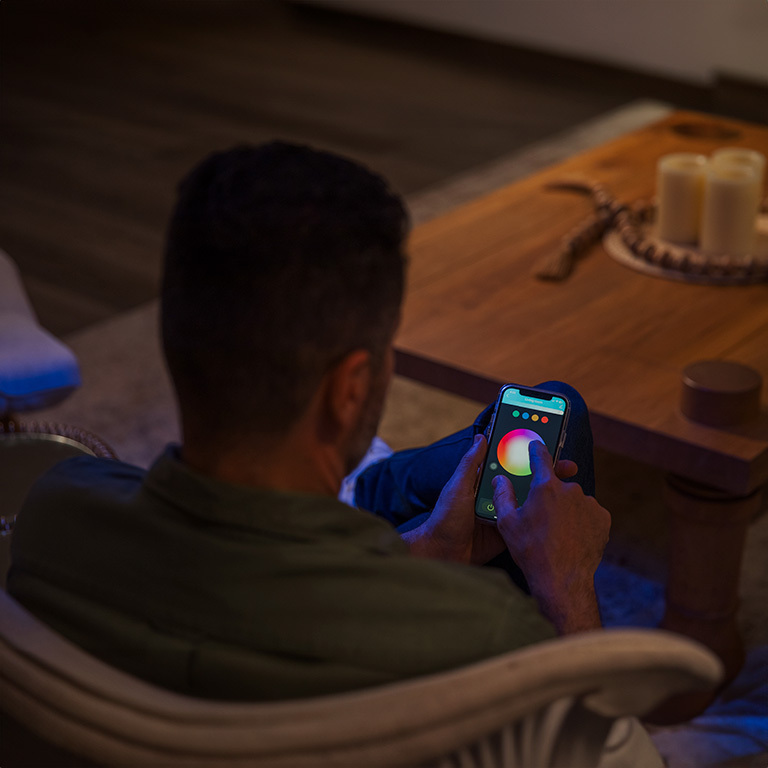
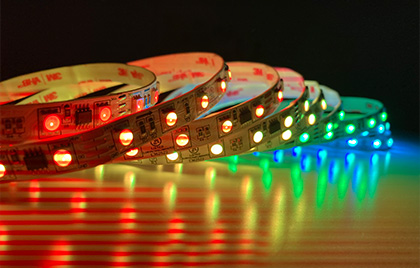
To control your lights, you will need dimmers and controllers. Dimmers let you adjust the brightness of your lights and are usually used with single color lighting, but not exclusively. Controllers, on the other hand, offer more features. Depending on their capabilities, they allow you to control brightness, color or color temperature, and effects. Controllers are typically used for tunable white or color changing lighting. Dimmers adjust brightness and are often used with single-color lights, though they also support other lighting types. Controllers offer more features, such as brightness and color adjustment, as well as effects, and are typically used with tunable white or color changing lights.
Make sure the lighting control you select is compatible with the lights you have chosen and their functionalities. Also, be mindful of electrical consistency. Confirm that the controller/dimmer and receiver match the DC’s voltage and wattage for safe operation.
5. Prepare Your Power Supply
Selecting and installing the right power supply is key to ensure your LED strip lights achieve their maximum lifespan. A suitable power supply provides stable and appropriate voltage—essential for our constant-voltage LED strips, which differ from constant-current alternatives. Additionally, quality power supplies are often equipped with protection features, such as short-circuit and over-voltage safeguards, which shield your LEDs from electrical surges. Finally, efficient power supplies convert more of the 120V input into usable DC output with minimal heat waste, reducing the thermal stress on the LEDs and further enhancing their durability.
This information will enable you to estimate the power consumption of your setup. Ensure that the voltage matches that of your power supply. Additionally, the resulting wattage should align with recommended thresholds for optimal performance, 80% or less of the rating for standard power supplies. A well-matched power supply allows optimal brightness while protecting your LED strips from potential damage caused by electrical inconsistencies or overload.
6. Maximum Run Length
Another critical factor in maximizing light lifespan is understanding and adhering to the maximum run length. This refers to the longest continuous length of an LED strip that can be powered and operated effectively from a single power source.
Exceeding this limit can result in reduced brightness at the end of the strip, also known as Avoltage drop, and premature failure of the LEDs due to higher temperatures at the beginning of the strip.
To ensure longevity, consult your manufacturer's guidelines for your specific LED strips, which vary depending on the model and design. Consider using signal amplifiers or power injectors to extend the run length without compromising performance.
During and After Installation: Nurturing the Glow
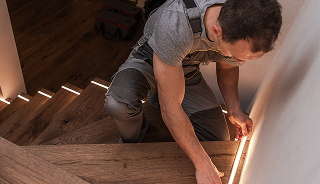
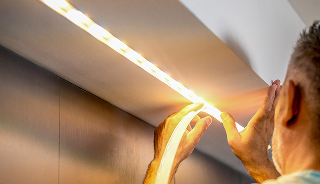
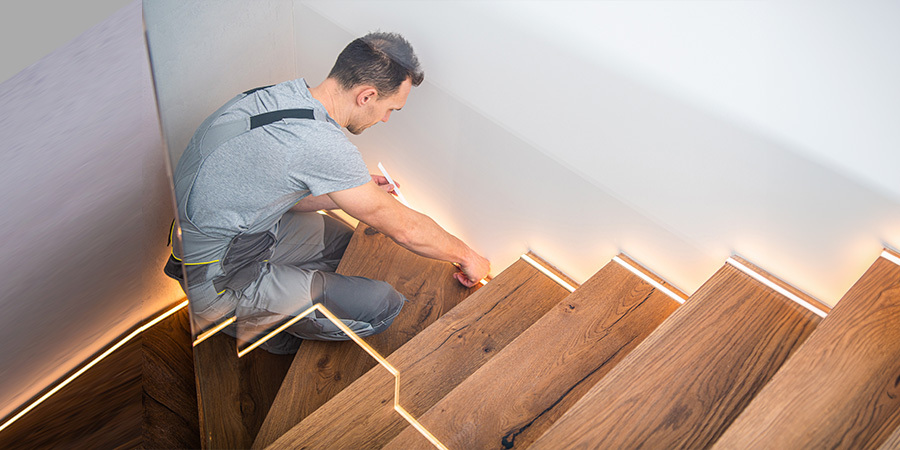
This is where the installation process begins. While LED strip installations are often user-friendly, they should not be installed while the lights are connected to power.
Additionally, always double-check the polarity of the connections before powering up your LED strip lights to prevent any potential damage or malfunction.
If you encounter complexities or uncertainties, don't hesitate to seek the assistance of a qualified electrician. Their expertise ensures proper electrical connections and adherence to safety standards, providing peace of mind for a well-executed installation.
During and after installation, there are still some steps you need to follow to care for the lights and make them last long.
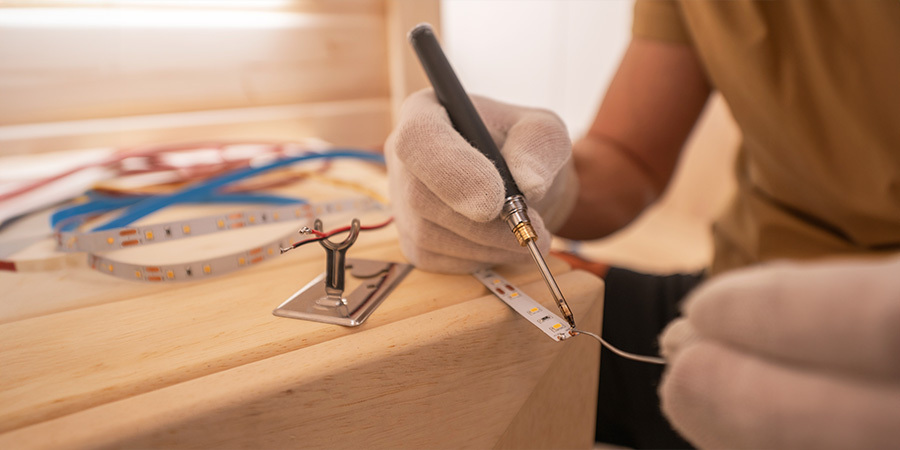
7. Secure Loose Ends and Connections
After installation, it's essential to thoroughly inspect all your LED strips’ connections, ensuring any loose ends are promptly secured. Fastening connections will maintain your product’s optimal performance and longevity.
This precautionary measure will also prevent flickering or irregular lighting. It will also protect you and your product from worse scenarios, like overheating, electrical arcing, fire outbreaks, or electric shocks.
If you use solderless connectors for your installation, ensure that all of them are firmly in place and that there is no strain on the wire, preventing the connectors from being pulled away from the light.
However, keep in mind that soldering the cables provides secure and permanent bonds, optimizes conductivity, and minimizes the risk of loose connections over time, extending the lifespan of your LED strips.
8. Implement Surge Protection Measures
Surge protectors control the amount of voltage that reaches your LED strip light. They do this by diverting excess voltage to the ground or absorbing it when a spike occurs, ensuring a stable power supply and preventing harm to any connected gadgets.
This is why implementing surge protectors or voltage regulators is highly recommended to protect your system from sudden voltage peaks that may damage your LED Lights.
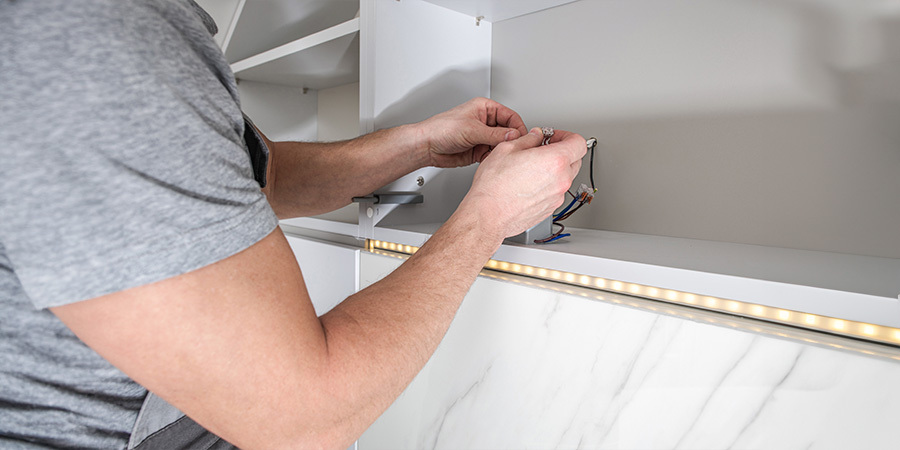
9. Regularly Clean Dirt and Dust
LED lights are often installed where the fixture is hidden or hard to reach, making it easy to forget about cleaning them.
Dust buildup on your LED strips can significantly reduce their brightness. Additionally, other impurities can cause the LEDs to overheat of the LEDs, resulting in a shorter light life cycle. This is known as Lumen Dirt Depreciation (LLD), which refers to the reduction in brightness of lighting products due to dust and dirt.
Regular cleaning of your LED strip lights provides a more enjoyable atmosphere for your space and is also a simple way to extend the lifespan of your lights
10. Dimming Your Light Strips
Opt for a brighter set of lights than you initially wanted for your project. Using a dimmer, you can adjust the brightness to approximately 80% or 70%, preventing the lights from operating at their maximum brightness capacity.
This approach significantly extends the lifespan of your lights. As LEDs naturally dim over time, you can gradually increase the brightness as necessary in the future. Additionally, dimming the LED strips during extended periods of inactivity conserves energy and contributes to their long-term durability.
Final Thoughts and Reminders
Extending the lifespan of your LED strip lights requires attention to detail in your project planning, proper installation, and regular maintenance. From choosing high quality LED strips and the right power supply to optimal installation conditions and regular cleaning, many factors contribute to maximizing their longevity.
By following these guidelines, you'll unlock the full potential of your LED strip and enjoy a bright, energy-efficient lighting experience for years to come. With some foresight and attention, your LED strips can remain a bright and lasting feature in your home or workspace
Finally, if you need help planning your project, Flexfire LEDs has everything you need. Our premium LED strip lights come in various hues of white, different colors, and even color-changing.
We also offer controllers and power supplies, so we can be your one-stop solution to get everything for your project. In addition, our team of experts is here to advise you in detail so that you don’t miss anything when executing your project.
Contact us today or email info@flexfireleds.com. We are eager to start your lighting project.


